pусский
  Français
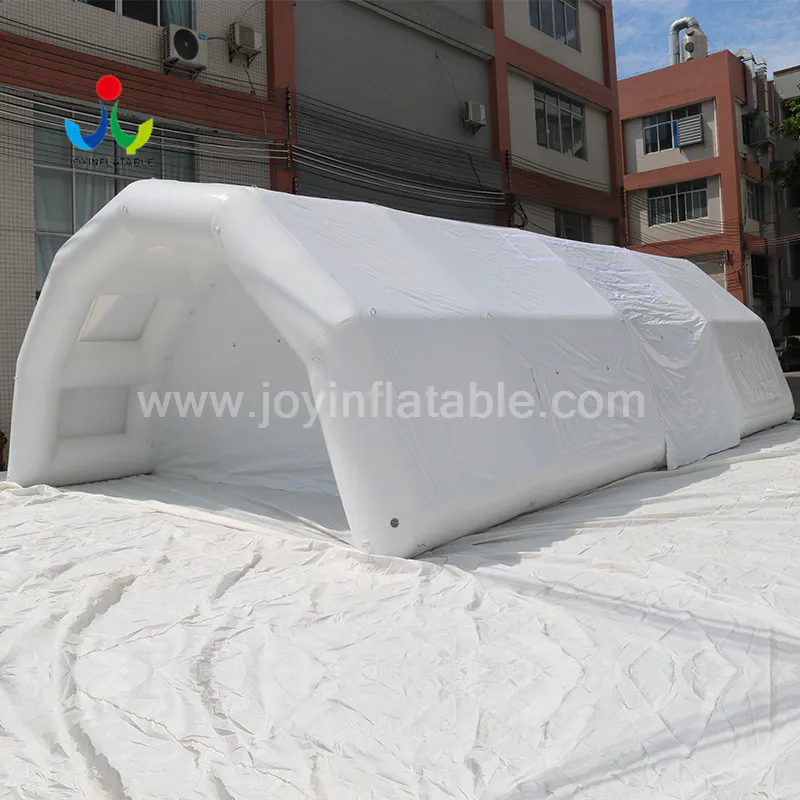
Latest products
giant soccer ball Earthquakes Lesson
by:JOY Inflatable
2020-05-22
This is the fifth part of the 6-part hand.Unit study on Earth scienceCreate a tsunami, build a marshmallow structure that can withstand an earthquake, perform seismic waves, build and use a seismic instrument, and more!My course is for 2nd-Children of grade 3rd and their siblings.These are the classes I created to work with weekly family Schoolsop.We meet 2 1/2 hours a week with 14 children under the age of 012.Use these Fun lessons in your classroom, home, camp, after-school project or collaborationop!Http:/iijuan12hubpages.Center/earthquake-lesson-for-.1.Stretch & pray.Discussion of Psalm 462.Read the earthquake by Franklin Branley.3.Discuss the general features of earthquakes quickly..4.Explain the cause of the failure.Talk about the stress building that caused the fault.Distribute a piece of uncooked pasta to each child.This represents the rocks in the Earth's crust.Let them bend it and add more and more pressure until it finally breaks.Explain this is similar to how the crust breaks when plate movement puts too much pressure on the crust..5.3 main types of behavior of failure: Strike-Sliding fault, positive fault and reverse fault.Let the children stand in a big circle.Strike-(San Andreas fault in California): Let the children hold their hands in front of themselves and raise their hands.Their hands are rocks on both sides of the fault.Let them leave the body with one hand and the other move towards the body.This is what happened on the slippery fault.Let them repeat the strike-When they do this, slide the fault.Often, fences and roads break when this type of fault moves.Point each other.Let them put the fingers of one hand on the fingers of the other hand, and then let their hands leave each other.This happens when a normal failure works.Let them repeat the "normal fault" when doing so ".Let the children raise their hands again as normal fault description.Now let them move their hands to each other.This is what happens with a reverse fault or a thrust fault.Let them repeat the "reverse fault" and "thrust fault" when doing this "..6.(Do this outside or in a damp place, just in case) prove how the fault caused the tsunami.Half a zip bagfull of water.Make sure they are well sealed!Let the children put their hands in front of themselves as you did before.Let them put the water bag on the palm of their hands.Let them observe what happens to the water when one of their hands slides away from themselves, as they do on the slip fault.The water is not moving too much, is it?Now let them move one hand up as quickly as they treat a reverse or thrust fault and a normal fault.The water rushed more.They just started a tsunami!.1 quart (per child-Half Size zip bagFault and earthquake tugsof-7.(Done outside or in large open spaces) show the stress on the fault line by having the kids play the tugboatof war.When one party starts to pull the other, some children on the failed side start to give up.This means that others who have lost their team must work harder.The pressure is increasing.In the end, they gave up and were pulled to the other side.If this is really a fault line, each team represents one side of the crust, and the failure of a team means that the earthquake happened.However, in the case of a real earthquake, the pressure will last for several years, not a few minutes..(10-per group-14 children) 1 rope suitable for towingof-by J.Enderle, S.Yuezhen Dussling of this site.I do have to change the evolutionary language in all of these books, but they are still worth reading.8.The demonstration uses rubber bands, a piece of wood and a piece of wood to cause the sliding and sliding motion of the earthquake.Before co-The earthquake demonstration model is established.Get a long piece of wood (about.54x6x1/4 inch) and the second solid wood (about 16x4x2 inch ).Attach an s-Hook on strong wood.Connect a short bungee jump line to s-hook.Connect the short or thick rope to the other end of the bungee rope.Put this long piece of wood on the table.Put thick wood on top of long wood.These two plates represent the plates that follow the normal fault.Put a brick on that strong piece of wood.Put some soldier, action character, toy animal or something on your brick.Pull the rope and the rope will pull the bungee rope.This is increasing energy.In the end, solid planks/bricks will hit forward, causing an "earthquake "."Let each child create an earthquake in turn ".When each child pulls back the rope, they say, "you're creating pressure."When the planks/bricks move forward, say," Earthquake!\ "If needed, measure the distance of the" Earth "jump by setting the jar next to the long board.We will soon say, "Wow!That's four cans of Pepsi!.Earthquake demonstration model: 1 long block (about54x6x1/4 inch), a solid piece of wood (about 16x4x2 inch)Hook, short bungee rope or strong rubber band, short rope or thick hemp rope, bricks, items that will fall (some soldiers, action characters, toy animals, etc ).) (We purchased all of the above items from Lowes for a few dollars.9.Briefly discuss the importance of architects and structural engineers in building structures that can withstand earthquakes.Show some pictures of successful design.Become a civil engineer and build buildings that can withstand earthquakes using toothpicks and marshmallows.Show them how to split the toothpicks in half and mention the possibility of stacking cubes and triangles to build the towers.The tower can have a small or large base..10.Use Jell to show the wave of earthquakesO and test the structure.Let the kids put their structure in a jelly panO observe what happens when an "earthquake" occurs.We just put the jelly potO in the middle of the table where the children work, let them test their structure (I.e.When other children finish their production, place the marshmallow structure on it and twist the pan ).Some kids can do it again.build and re-test.(4-per group-5 children) 1 box of prepared jelly11.Discuss Richter magnitudeUsing balls placed on US maps to show the difference in the Richter scale (not scientifically accurate, but giving an overall idea that the larger the quantity, the further vibration on land can be felt): 3 = marble, 4 = golf, 6 = Baseball, 8 = Football.12.Show how the seismic instrument can record the vibration of the earthquake by allowing the children to shake a small table with a homemade seismic instrument.Divide the group into two groups.Give each team a small table (like a TV tray), a shoe box, cut 2 squares from the side to accommodate a rolling pin, punch 1 hole on the side to hold a marking reel, tape that holds the paper on the reel, roll paper and marker pen.You can take a look at the pictures and get a general idea of how we make these things.Let the two children gently and frantically shake the table in the middle while the other child pulls the note out.Bring the children back and let them read the newspaper.Pay attention to the big twists and turns when shaking heavy, the small twists and turns when it is gentle?This is how the seismic instrument works.We are from p.Cindy brobaum's 52 geology rocks.12.-Divide the children into two pairs and let them sit in two rows, each facing their partner.Discuss the three waves generated by the earthquake and use slinkies for presentation.Tell the kids that the shock waves vibrate in three ways: faster, slower, sideways or up and down.The direction of the wave movement determines how big the waves are.The seismic instrument records these waves on the seismic instrument.P (primary) waves are generated by frontal impact, S (secondary) waves are generated by side impact, and L (surface) waves are generated by top impact.-One for each hand.The person on the right is first the "movers" and the person on the left will be the "holder ".The "holder" will hold the other end of slinky, while the "movers" will shake it the way I told them to shake it.-P-The "mobile" should push slinky to the stand.Tell the "mobile" to pull slinky a little towards yourself and push it to the "stand "."The waves pass from you to your partner.You should see the vibrating part of slinky moving back and forth along the same direction of the wave propagation.P-The wave/Main wave is the first wave recorded by the seismic instrument.These are the fastest seismic waves to reach distant places first.P-The waves push and pull the underground rock, causing the structure on the ground to move back and forth.Let them repeat \ "P-Wave/primary wave \ "when they do \".-Switch.Now the person on the right will be the "holder" and the person on the left will be the "promoter ".The "holder" will hold the other end of slinky, while the "movers" will shake it the way I told them to shake it.-S-The "mobile" shakes slinky from one side to the other.Now slinky moves from one side to the other (horizontal ).S-Bobby P slowwaves.S-The waves are the second wave recorded by the earthquake.S-Waves can pass through solid rocks, but cannot pass through liquids such as oceans or gases such as air ).S-The waves move the rock under the surface from one side to the other, causing good vibration to the buildings on the surface, usually causing great damage.S-The waves shake you up and down so they can throw you out of your seat!Let them repeat it.Wave/wave \ "when they do \".-Switch.Now the person on the right will be the "mobile" and the person on the left will be the "holder ".The "holder" will hold the other end of slinky, while the "movers" will shake it the way I told them to shake it.-L-The "mobile" lifts the spring up and breaks it down.The L wave is the largest of the three waves.The waves caused the most damage and tsunami.Let them repeat L-Wave/longitudinal wave \ "when they do \".-.13.(Outside or in a large open space) perform three types of seismic waves.Let the children perform one of the three earthquakes.The children were divided into 3 groups, each led by an adult.-P--S--L-Waves group repeats this sequence: Take 1 step forward, pause, jump twice in place, take another step forward, pause, jump twice in place.Let the group line up and start at the starting line.P wave should reach the finish line first if the kids don't "cheat", S-Wave Two and L-waves third..14..a.(Adapted from O \ 'Brien's how the Earth works-(The motion of marking.There are four layers of earth from inside to outside.It rotates in space.It is called the center of the Earth for all.The outer core is 2 layers.Put your left hand on your fist.The whole process is iron and nickel in liquid.The 3 floors are the coats of the rocks.(Bend your bicep like you said.Lift 3 fingers when you sing.The crust is the surface of land and ocean.When they meet their partner, move slowly.(Waves slowly back and forth.Because they float under me and you.(When you point to yourself and the person standing in front of you, wave back and forth slowly.On a circular plate forming the ground.(Point to the ground and jump according to the "ground" you said.b.My "rock Cycle Song" in the rock classification class ".c.I am in the "things inside the volcano" in the volcano and plate construction class ".15.Eat jell-O and marshmallow structure.16.(When children eat) discuss Haiti, Japan and/or other recent events, and how Christians help and are helping.17.Do a 5 minute review of what we have learned.When you study the layers of the Earth, make an edible model of the Earth, bake cookies, show how deposition, deterioration, and Magma are formed, and create fossil models, build a marshmallow structure that can withstand jellyO earthquakes, carving canyons and valleys on sand with wind, water and ice, introducing all aspects of the Earth, and more in these 6 lessonsUnit learning about Earth science!-This is the first part of the 6-part hand.The unit of Earth science is viewed from a Christian perspective.Make an edible earth model, show each layer of the Earth, do core tests on cupcakes, make oobleck and more!-This is the second part of the 6-part hand.The unit of Earth science is viewed from a Christian perspective.Make and eat the "deposited" seven-story bar, make the "spoiled" Snickers bar, do some rock mining, and more!-This is the third part of the 6-part hand.The unit of Earth science is viewed from a Christian perspective.The focus of this lesson is Fossils!Create fossil models, dig and piece together dinosaur bones, dig dinosaurs, eat chrysanthemum stones and more!-This is the fourth part of the 6-part hand.Unit study on Earth scienceMake edible volcanoes, build an erupting Ring of Fire, display plate construction using Graham cookies, use play-doh, and more!-This is the fifth part of the 6-part hand.Unit study on Earth scienceCreate a tsunami, build a marshmallow structure that can withstand an earthquake, perform seismic waves, build and use a seismic instrument, and more!-This is the sixth part of the 6-part hand.Unit study on Earth scienceWhen children carve valleys and valleys on the sand with air, water and ice, show all kinds of erosion.Re-Create the Grand Canyon.Compare how the soil resists erosion.-This is the final project we finished after 6 parts of hands-on.Unit on Earth scienceWe made edible volcanoes, made Earth science presentations, showed paintings of earth layers and volcanoes, sang songs about Earth science, and so on!Our field trips in this unit are also included.Do you want to teach this every day?I use the Konos course as a springboard to plan my course.This is a great course created by mom and active boys!If you are new to home school or need some new guidance, I highly recommend the Konos home school tutor.com program!Watch the video-What to do every day and how to teach it in this great hand --on format!
Custom message